路由守卫
意义
大部分系统中都存在权限问题,比如基本的权限如使用系统的人大致可以可以分为游客,用户,管理员。更加复杂的权限如用户也存在等级,不同等级的用户有不同的功能,而且管理员也存在等级,不同等级的管理员所管理的业务也有区别。
Angular 项目的权限问题可以使用 路由守卫 解决,即通过 路由守卫 判断系统的使用者是否有权限进入某一个路由。
基本示例
1,在 cmd 环境下,使用命令 ng new high-route --routing 新建一个 high-route 项目。
2,cd high-route 进入 high-route 目录下,使用命令 ng g c home,ng g c login,ng g m console --routing,ng g c console/index 新建 home 组件, login 组件,console 模块,console 模块下 index 组件。
3,修改部分项目代码如下所示。
app-routing.module.ts
1 | ....//代码块 |
app.component.html
1 | <!-- 代码块 --> |
console-routing.module.ts
1 | ....//代码块 |
4,效果图如下所示。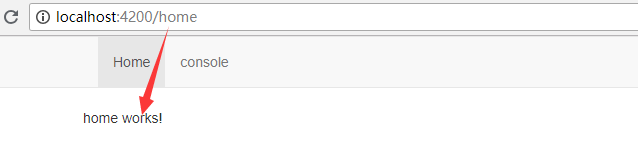
5,假如在实际项目中,console 模块为控制台台模块,系统的使用者是游客时无法进入 console 模块,只有游客注册登录后才能进入 console 模块。当系统使用者点击页面导航栏中 console 链接 时,系统需要判断当前系统的使用者是否有权限进入 console 模块,若有权限则进入,没权限进入 login 路由,这是路由守卫需要做的事情。使用 ng g s route-guard 创建守卫服务。修改 route-guard.service.ts 代码如下所示
route-guard.service.ts
1 | import {Injectable} from '@angular/core'; |
这是最基本的路由守卫,当 canActive() 中返回 false 时,不可进入当前路由,返回 true 时可进入当前路由。
6,在 app-routing.modult.ts 根路由配置信息文件中使用路由守卫,代码如下所示。
app-routing.module.ts
1 | ....//代码块 |
在 home 路由下,点击导航中的 console 链接,当路由守卫返回 true 时,页面进入 console 路由;当路由守卫返回 false 时,页面停留在 home 路由下,不能进入 console 路由页面。
7,上面的路由守卫只是最基本的路由守卫。在实际的项目中,路由守卫不可能这么的简单,在实际的项目中,关于路由守卫是有一定的逻辑的。修改路由守卫代码如下所示。
route-guard.service.ts
1 | import { Injectable } from '@angular/core'; |
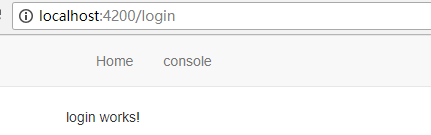
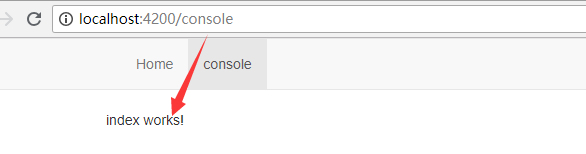
运行本地项目,当 isLogin 为 true 时(有权限),在 home 路由下点击导航栏的 console 链接时,进入 console 路由。
当 isLogin 为 false 时(没有权限),在 home 路由下点击导航栏的 console 链接时,进入 login 路由。
在实际的项目中,isLogin 不可能像现在这样直接写 true 和 false 来代表是否有权限,应该通过其它的办法来判断是否有权限(不同的系统有不同的判断方法)。
路由传参
使用命令 ng g m product --routing,ng g c product/list,ng g c product/detail 创建 product 模块,list 组件,detail 组件。修改已有代码如下所示。
app.component.html
1 | ....//代码块 |
app-routing.module.ts
1 | ....//代码块 |
product-routing.module.ts
1 | ....//代码块 |
参数是 Url 路径一部分
1,所传的参数是
Url路径的一部分
修改代码如下所示。
product-routing.module.ts
1 | ....//代码块 |
product/list/list.component.ts
1 | import {Router } from '@angular/router'; |
product/list/list.component.html
1 | <!--代码块--> |
product/detail/detail.component.ts
1 | import { ActivatedRoute } from '@angular/router'; |
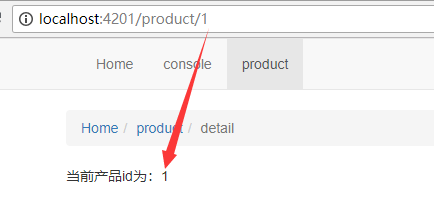
在上面的 product/detail/detail.component.ts 代码中,获取参数的参数名应该和路由配置信息文件 product-routing.module.ts 中 :productId 的 productId 相同。不然获取不到参数。
product/detail/detail.component.html
1 | <ul class="breadcrumb"> |
传参效果图如下所示。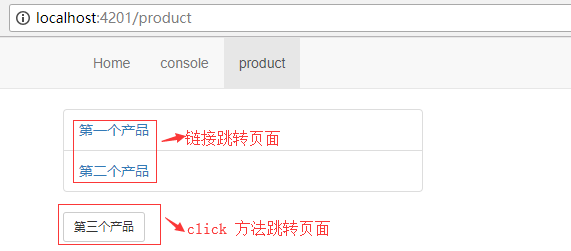
当参数是
Url路径一部分时,使用该参数路由有两种方法。1,在页面中使用,如product/list/list.component.html,暂时列举出3种格式(文中已列举);2,在组件中使用,如product/list/list.component.ts,有3种格式(文中已列举)。接收该参数的方式暂时列举出4种格式(已在product/detail/detail.component.ts中列举出来),推荐使用其中存在Map字符的方法,因为在Angular以后的版本中关于路由参数会淘汰掉不存在Map字符的方法属性。
正常传参
如果在
url中传递的参数不止一个,是多个的话,参数是Url路径的一部分显然不是一个很好的方式,这时应该传递参数应该使用正常的模式,即参数在Url的路径后面,以?号隔开
1,使用命令 ng g m joke --routing,ng g c joke/list ng g c joke/detail 创建 joke 模块,joke/list 组件,joke/detail 组件,修改已有代码如下所示。
app-routing.module.st
1 | ....//代码块 |
app.component.html
1 | <!-- 代码块 --> |
joke-routing.module.ts
1 | ....//代码块 |
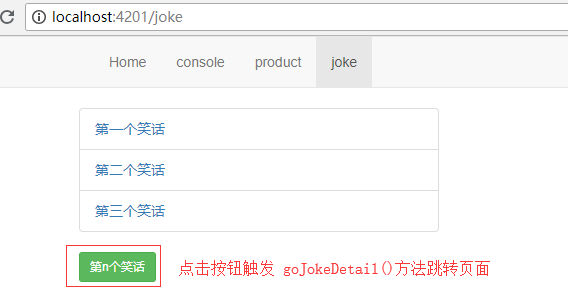
2,在组件 UI 中传递参数
修改 joke/list.component.html 代码如下所示。
joke/list/list.component.html
1 | <!-- 代码块 --> |
joke/list/list.component.ts
1 | ....//代码块 |
参数传递的效果图如下所示。
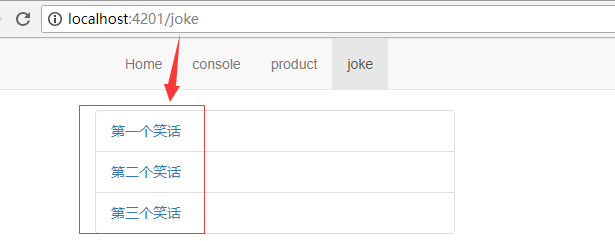


在组件
UI中传递参数有多种格式。
3,在组件中传递参数,修改代码如下所示。
joke/list/list.component.html
1 | <!-- 代码块 --> |
joke/list/list.component.ts
1 | import { Router } from '@angular/router' |
其效果图如下所示。

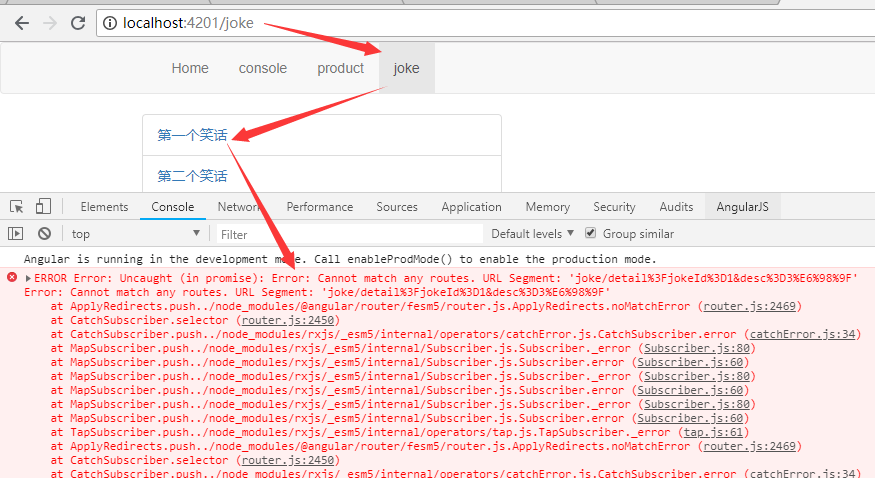
错误传参方式
组件
UI的a标签url路径中直接写
1 | <!-- 代码块 --> |
在 Angular 中,这是一种错误的写法,其错误如下图所示。
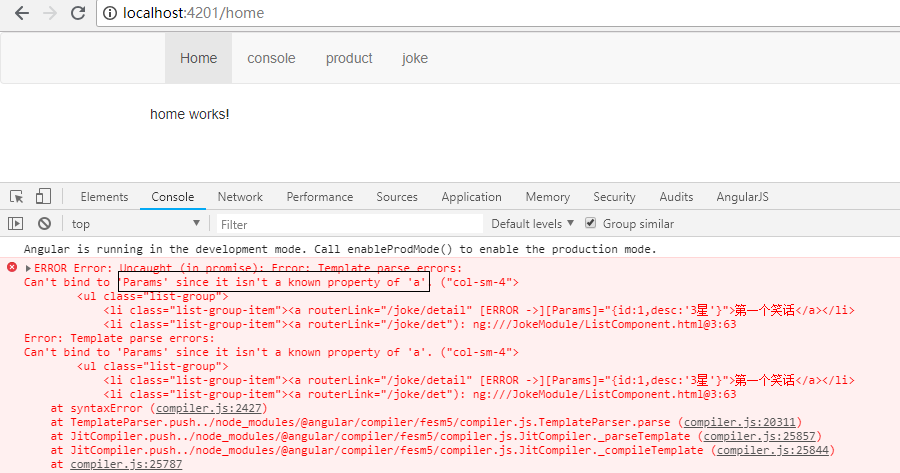
组件
UI中没有使用queryParams传参,采用Params传参
在 Angular7 版本中,正常传递参数时(参数不是 Url 路径的一部分),只有 queryParams 属性才可以传递。
使用其它属性(如 Params)传递时,程序会报错,因为 Params 不是 a 链接的属性,其代码以及错误如下所示。
1 | <!-- 代码块 --> |
获取参数
修改 joke/detail 组件代码如下所示。
joke/detail/detail.component.html
1 | <div *ngIf="nowJoke"> |
joke/detail/detail.component.ts
1 | import { ActivatedRoute, Params } from '@angular/router'; |
获取参数效果图如下所示。
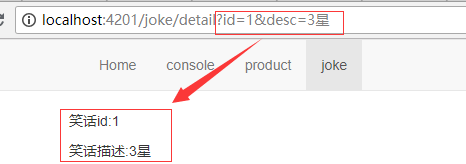
获取正常参数的方式暂时列举出3种,如上
joke/detail/detail.component.ts所示。
传参相似处
参数快照和参数订阅
参数快照和参数订阅都是获取路由参数的方法,它们的功能有一定的重复性,但也有一定的区别。
在上面的代码中,获取参数的方法分为参数订阅(subscribe)和参数快照(snapshot)。
其区别的代码示实例如下。
product/detail/detail.component.html
1 | <!-- 代码块 --> |
参数订阅获取参数代码:product/detail/detail.component.ts
1 | //代码块 |
参数快照获取参数代码:product/detail/detail.component.ts
1 | //代码块 |
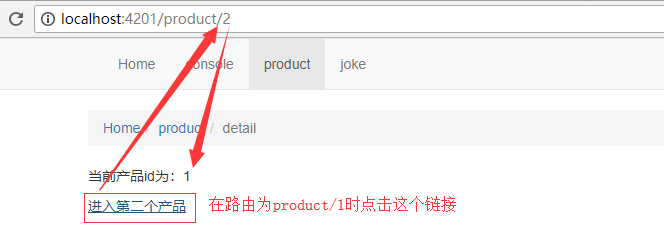
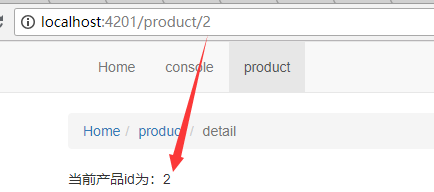
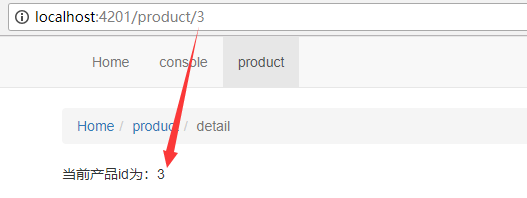
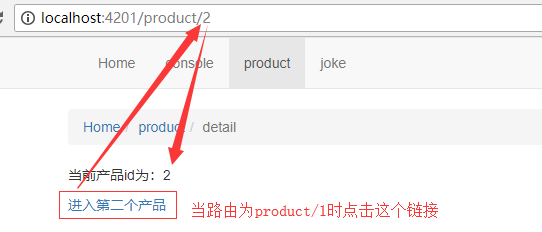
从上面的代码以及两张图对比中,可以发现,在参数订阅时,点击 进入第二个产品 链接,页面中的 productId 数据发生了改变,而在参数快照时,Url 地址发生改变,但页面中的 productId 并没有发生改变。
原因:这种情况主要发生在同一个组件的跳转。从
product/1跳转到porduct/2时,都是在product/detail组件中跳转。当使用参数订阅,路由跳转时,根据订阅者模式,组件会再次获取路由参数;在使用参数快照时,由于在product/1路由下,product/detail组件已经被创建了,当跳转到product/2时,组件不会重新执行ngOnInit()方法,所以不会重新获取参数。
paramMap 和 queryParamMap
在路由传参中,parmaMap 和 queryParamMap 都有被使用,它们是有很大的区别的,parmaMap 用于获取路由传参时,其参数是路由 Url 路径的一部分;queryParamMap 用于获取正常的传递参数。
其示例如下所示。
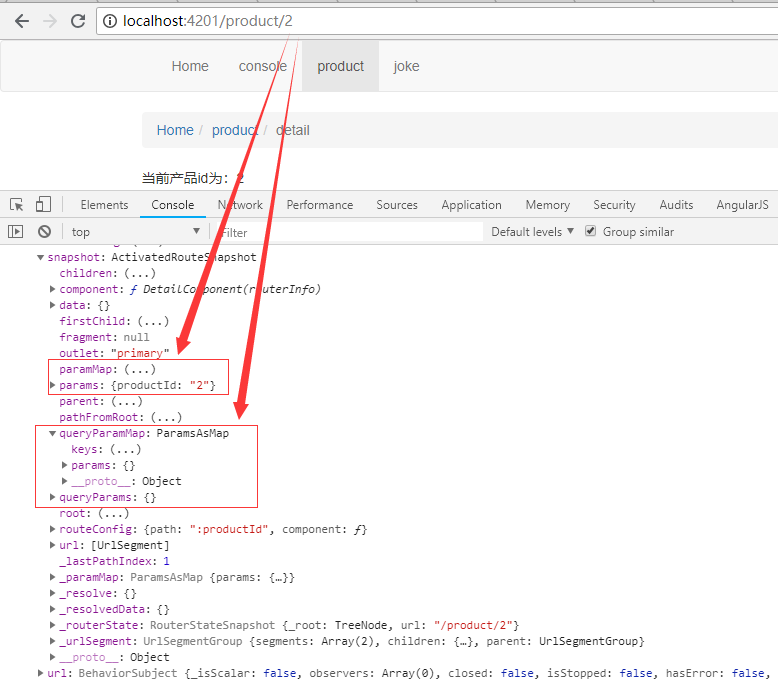
从上图可以知道,当路由参数是路由 Url 的一部分,其参数是放在 params 中的,若开发者从 queryParams 获取该参数是获取不到的。因为 queryParams 是一个空对象。
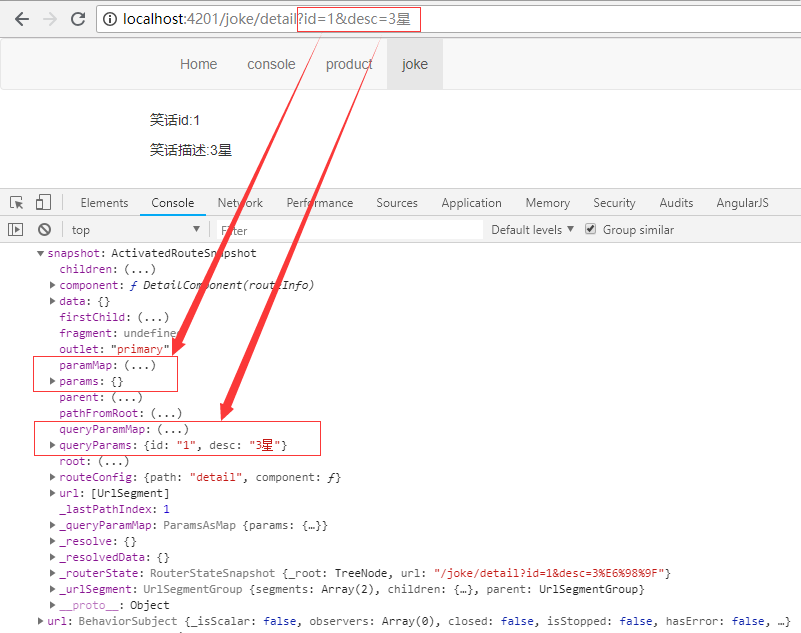
从上图可以知道,当路由参数是正常参数时,其参数是放在 queryParams 中的,若开发者从 params 获取该参数是获取不到的。因为 params 是一个空对象。
navigate 和 navigateByUrl
navigate 和 navigateByUrl 两个方法都可以用于页面导航,但它们之间也有一定的区别。router.navigateByUrl() 方法是使用一个全新的路由地址替换已有的路由地址;router.navigate() 方法是基于一系列输入参数,产生一个新的 URL 地址。
示例:在路由中存在 辅助路由 时,假如当前路由为 /product(aux:chat),当运行 router.navigateByUrl(['/product/1']) 后,其 Url 地址栏为 product/1;当运行 router.navigate(['/product/1']) 后,其 Url 地址栏为 product/1(aux:chat)。